Preparing Roof Assembly
Details
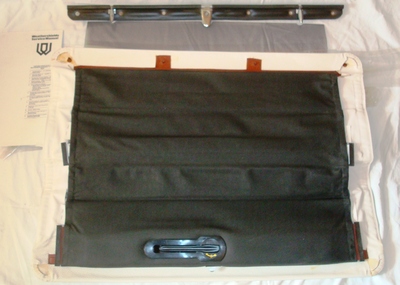
Roof to be placed on bench, lining facing upwards. Lining to be pulled to edge of tube at rear of roof, tube to be crimped at ends to ensure the lining is held tight (this part is already done for you). Cut off overhanging piping, place sealant tape along rear of roof approx. 1” behind fixing studs and a ring of sealing putty (butyl or silicone) around each stud to ensure good water tight seal. Re-tap 4 securing studs in rear cover plate (10 UNF). Ensure tap does not pierce cover. Here’s the translation: When you screw the #10 machine screws up through the roof skin and in to the rear hold-down (steel cap), if you over tighten the screws, they will become visible on the top and might screw all the way through the vinyl (or canvas) top covering.
Fitting of Roof to Car
Details
Place roof assembly over aperture, locating the four fixing studs (underside of rear cap) into the 5/16” dia. Holes (drilled through your roof). Fit screws and washers to the outside holes first (from inside your car, up through the rear holes and into the threaded hole son the rear cap. Then the two center holes leaving screws loose. Starting with the near side install the right hand rear slide into side rail. bring left hand rear slide forward until it enters the opposite side rail. Repeat procedure for all other slides. Close roof, if roof is hard to close, check that slides are parallel to rails. (See fig. 19) These can be set by using a gap bar to bend up or down to make them parallel. When roof is working smoothly make sure that the lining is not trapped between the body and the rear tube at the back, also check locking hook is entered slot in the front rail.
NOTE
Make sure that the front head board is sealing along the front of car. To obtain the sealing, glass pliers are used to reform the edge. (See fig. 18), to suit contour of car.
STEPS
Fit four chrome buttons in rear member. (S fsç 17) Check that deflector clears the side rail in upwards position.
|